If you’re like most people, you likely want to see if a home repair situation can be solved with your own two hands before calling in the experts. Totally normal– and we want to help, with these 6 DIY Home Repair Tips:
1. Repairing Sink Caulking
Caulk around sinks can degrade over time. Luckily, this is something that is easily repaired! Just follow these steps:
- Prepare the surface. Remove the old caulk by using a utility knife, razor blade, putty knife, or scraper (and be safe-never cut or scrape towards yourself). Then clean all dirt and debris from the area. Finish off by wiping the area with rubbing alcohol or a disinfecting spray. Allow to dry.
- Tape the area (optional). Use painter’s tape to tape off any areas that you don’t want the caulk to stick to. This will improve the finished look
- Cut the nozzle of the caulk. You can buy a squeeze tube with caulk, or use a caulking gun. For smaller projects, a squeeze tube is recommended. If you want the caulk to have a wide bead (a bead is a line of caulk), cut the nozzle closer to the base. If you want a narrow bead, cut the nozzle closer to the tip
- Apply the caulk. We recommend an angle of 45 degrees placed where the counter and sink meet. Fill any gaps with an even bead of caulk
- Smooth the caulk. There are many things you can use to smooth out the caulk, but we recommend a caulk finishing tool to smooth out the applied caulk. You can also use your finger (moisten it with soapy water and drag it along the bead with light pressure)
- Allow the caulk ample drying time.
2. Clogged garbage disposal
#2 on our 6 DIY Home Repair Tips is a blogged garbage disposal! Not to. worry. Garbage disposal issues are common enough. If you suspect yours is clogged, follow these steps to try and unclog it yourself:
- TURN OFF THE BREAKER to the disposal. This is in caps because it is important! Working on any electrical equipment can be dangerous if the power to the equipment is not turned off. We just don’t want you to have to make a side trip to the ER
- Shine a flashlight into the disposal to see if any objects are clogging it or are stuck. Use long-handled tongs or pliers to try and gently remove the objects. Once this is done, turn the breaker back on and try the disposal again (push the reset button at the bottom of the disposal under the sink, if necessary)
- If that didn’t work, turn the breaker back off, and try plunging the sink. Sometimes leftovers can clog the disposal enough for it to fail
- If these tips don’t work, give us a call at Rakeman! We’d be happy to come investigate and fix your clogged disposal!
3. Running Toilet
If you’ve noticed your toilet won’t stop running after flushing, it is important you fix the issue before it costs you.
A running toilet can waste up to 200 gallons of water EACH DAY! There are a few different causes for this issue.
Generally, running toilets are caused by a faulty flapper valve (it’s what controls how much water passes from the tank to the bowl). You can find repair kits for this at any hardware store.
However, if you aren’t completely confident in your ability to fix the issue, or if you find that the cause may not be flapper valve related, call Rakeman Plumbing! We’d be happy to assess the situation and fix it quickly.
4. Sink Clogs
Is your sink clogged or draining slowly? Here are just a few do-it-yourself tips to try at home before resorting to calling in Rakeman Plumbing backup (which we are happy to do).
- Boiling water. Pour it down the sink. This process may have to be done several times to work
- Vinegar and baking soda. Pour about a cup or so of baking soda into the drain, and then an equal amount of white or apple cider vinegar. The mixture should bubble, but when it stops, wait about 15 min, and then run hot water to see if the drain clears. Repeat if needed
- Plunging. Plungers aren’t just for toilets!! A plunger can effectively unclog any items that may be preventing drainage. We just recommend you have a separate plunger dedicated to your sink…for obvious reasons
5. Heating Cycling Issues
The trickiest thing to repair on our 6 DIY Home Repair Tips list is heating cycle issues.
If your heating bill is higher than usual, or you notice your heater is turning on and off far more often than usual, you may have a heat cycling issue. First, you’ll want to troubleshoot the problem, to see if it. is something you can do yourself.
Heat cycling can be caused by a very dirty blower or filter.As a general rule that most of us homeowners know, changing your air filters every 6 months is a must. More, depending on your household situation (AKA a BUNCH of pets right!?).
If the blower is dirty, it’s a relatively quick fix. We suggest vacuuming out the area around the furnace’s blower, yearly. If it’s possible, you might even slide the fan unit out to clean and vaccuum each fan blade.
Another potential heating cycle issue could be due to a malfunctioning thermostat. You’ll want to call the experts to come out and replace your thermostat with a newer version.
Whatever the cause, give us a call at Rakeman Heating and Air! We’d be happy to get to the bottom of the issue.
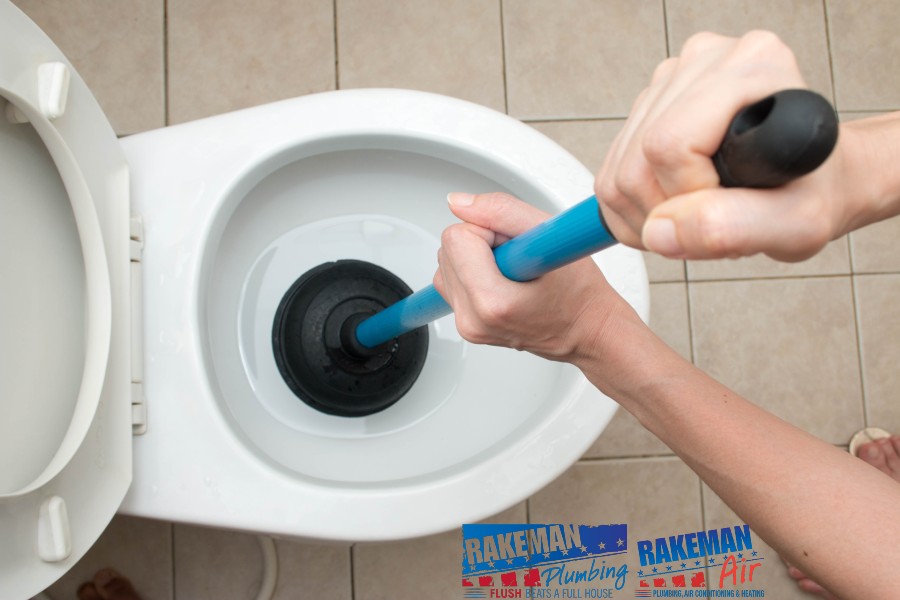
6. Clogged Toilet Causes
Last but not least on our 6 DIY Home Repair Tips– if the handy-dandy plunger just isn’t doing the trick to unclog the ol’ commode, it might be time to call an expert technician at Rakeman Plumbing.
Toilets can be easily clogged by toys, tampons, hair, baby wipes, food, or a number of other items. This may be obvious to you, but maybe not to a little Jimmy, right? Prevent these kinds of clogs by teaching other members of your household what can and cannot be flushed down the toilet.
If it is too late for that and you require assistance immediately, give Rakeman a call! We’d be happy to come remove the blockage and find out who the culprit in your home caused it!
7. Water Heater Issues
Water heater issues can be costly. While there may not always be a DIY solution for water heater repairs, there are some troubleshooting steps you can take.
Stay ahead of the game by recognizing a few of the following common issues so you can either fix the problem or call us before it becomes a BIG problem.
- Water temperature problems. Water is cold all the time, water is warm, but not hot enough, water is too hot. A few important things to check is the pilot, the thermocouple, and the gas control valve.
- Leaks can be caused by a faulty T&P valve, improper water pressure, a leaking water tank, or a number of other possible causes. A T&P valve and plumbing leaks can sometimes be repaired yourself, but a leaky water heater tank cannot; the unit will need to replaced ASAP by a Rakeman technician!
- Discolored water, rusty looking water, or smelly water. Pipe corrosion or bacteria buildup might be the culprits, but you’ll want to get an expert opinion from a Rakeman technician.
- Strange noises– assuming your water heater isn’t haunted, noises should not be coming from it. Excessive buildup of sediment in the bottom of the tank may be causing the tank to overheat, causing the water to boil. You’ll want to flush your water heater to remove the sediment.
If you are experiencing any of these issues, and DIY Home Repair Tips just aren’t doing the trick, give Rakeman Plumbing and Rakeman Air a call and we will assess the situation!
Recent Comments